How to Mail Merge Microsoft Word?
Are you interested in learning how to use Microsoft Word to create personalized documents? Mail merge is a powerful feature in Microsoft Word that allows you to quickly create customized documents with the same layout and formatting. In this article, you will learn the basics of mail merge and get a step-by-step guide on how to use it in Microsoft Word. With mail merge, you can quickly create personalized letters and documents with the same layout and formatting. So, let’s get started and learn how to mail merge Microsoft Word.
Mail Merge in Microsoft Word helps users create multiple documents at once, such as labels, letters, and envelopes. To use Mail Merge in Microsoft Word, follow these steps:
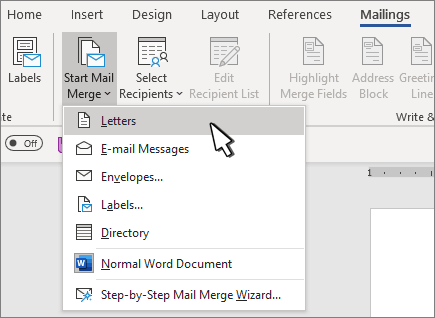
- Open Microsoft Word and select Mailings from the menu.
- Select Start Mail Merge and choose the document type, such as letters, emails, or envelopes.
- Choose a data source, such as an existing list or Microsoft Excel spreadsheet.
- Add recipient information, such as names and addresses.
- Write a personalized message for each recipient.
- Preview your document and make necessary changes.
- Finally, finish the mail merge and print the documents.

What is Mail Merge?
Mail Merge is a technique used to create personalized mass emails, letters, and envelopes. This is done by combining a main document with a data source, such as a list of names and addresses. It is useful for creating customized documents for large groups of people quickly and easily. Microsoft Word is one of the most popular programs used to perform mail merges.
Mail merges are often used to send out newsletters, invitations, form letters, and other mailings that require personalized information for each recipient. With Microsoft Word, mail merges are easy to set up and simple to execute. In this guide, we will show you how to use Microsoft Word to perform a mail merge.
Steps for Mail Merge in Microsoft Word
The first step in performing a mail merge in Microsoft Word is to create a list of recipients. This list should include the names and addresses of each person who will receive the mail merge. The list can be in the form of a Microsoft Excel spreadsheet, a comma-separated values (CSV) file, or a tab-delimited text file.
Once the list of recipients has been created, the next step is to create the main document. This is the document that will be sent to each recipient. It can be a letter, form, invoice, or any other type of document. Be sure to include any placeholders that will be replaced by the personal data from the recipient list.
The last step is to connect the main document to the recipient list. This is done by selecting the Mailings tab in Microsoft Word, then selecting the Start Mail Merge option. From there, you can select the type of document you want to create and the recipient list that you want to use. Once this is done, you can complete the mail merge and send out the documents.
Tips for Mail Merge in Microsoft Word
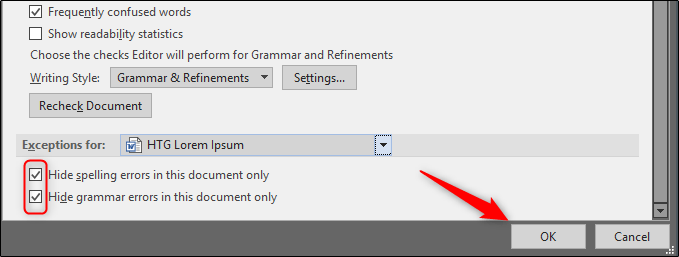
Check for Errors
Before sending out the documents, be sure to check for any errors. This includes checking for any typos or formatting issues. Microsoft Word has a spell-check feature that can be used to help detect any mistakes. It is also important to check that all of the placeholders have been correctly replaced with the personal data from the recipient list.
Test the Document
It is also a good idea to test the document before sending it out. This can be done by sending the document to a few test recipients. This will give you an opportunity to make sure that the document looks and functions as intended before sending it out to the full list of recipients.
Double-Check the Address
Finally, it is important to double-check the address of each recipient before sending out the mail merge. This is especially important if you are sending physical mailings such as letters or envelopes. It is easy to make a mistake when entering a recipient’s address, so it is important to double-check it before sending out the mail merge.
Frequently Asked Questions
What is Mail Merge?
Mail Merge is a feature in Microsoft Word that allows users to create one document and automatically fill it with information from a data source such as an Excel spreadsheet. This allows users to quickly create personalized documents such as letters, labels, envelopes and email messages. It is useful for sending out mailings or creating a large number of personalized documents quickly and easily.
How do I access Mail Merge?
In order to access Mail Merge, open the Microsoft Word program. Then, select the “Mailings” tab from the toolbar at the top of the screen. This will open the Mail Merge window, which contains all the tools you will need to create, edit, and send your mail merge documents.
How do I create a Mail Merge document?
Creating a Mail Merge document is relatively easy. Begin by selecting the “Create” option from the Mail Merge window. This will open a new window with the options for creating a new document. Select the type of document you want to create, such as a letter, envelope, label, or email. Then, select the data source you want to use, such as an Excel spreadsheet. Finally, add any additional information you want to include, such as text, images, or logos.
How do I add data fields to my document?
Once you have created your document, the next step is to add data fields. To do this, select the “Insert Merge Field” option from the Mail Merge window. This will open a drop-down menu with all the available data fields. Select the fields you want to add to your document, and then click “OK”.
How do I preview my document?
Once you have added all the data fields to your document, you can preview it by selecting the “Preview Results” option from the Mail Merge window. This will open a preview of your document with all the data fields filled in. You can then make any necessary changes before sending it out.
How do I send the document?
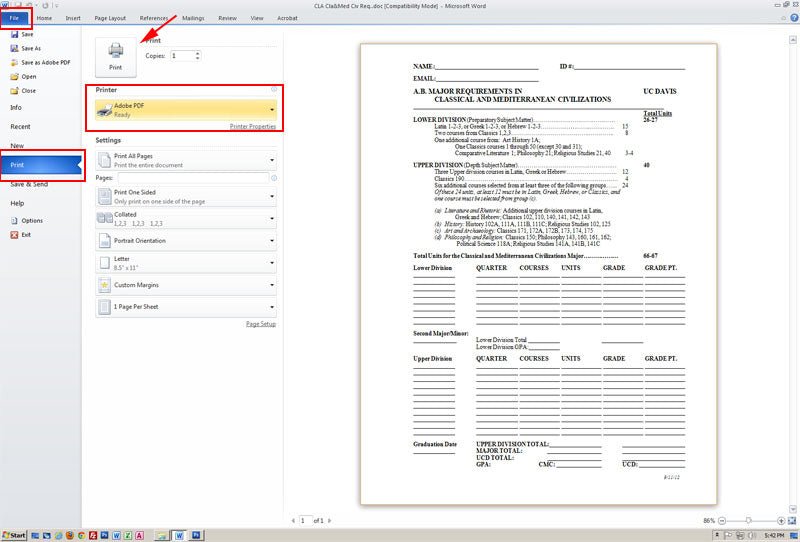
Once you are happy with your document, you can send it out by selecting the “Finish & Merge” option from the Mail Merge window. This will open a dialog box asking you how you want to send the document. You can choose to send it as an email, print it, or save it as a PDF. Select your preferred option and click “OK”. Your document will then be sent out to the recipients.
Mail Merge from Excel to Microsoft Word
Mailing merge in Microsoft Word is an incredibly useful tool and is a great way to save time and effort when creating large amounts of documents that are all similar. With its easy to use interface, you can now quickly and efficiently merge data sources with your documents, creating professional looking documents with a minimum of effort. So, if you are looking for a quick and easy way to create personalized documents, mail merge in Microsoft Word is the perfect solution.
How to Merge Microsoft Word Documents?
How to Make a Word Cloud in Microsoft Word?
Related Posts
How to Create an Application Form in Microsoft Word?
How to Convert a Microsoft Publisher Document to Word?
How Do You Create Fillable Pdf Forms With Microsoft Word?
How to Fix Microsoft Word 2010?
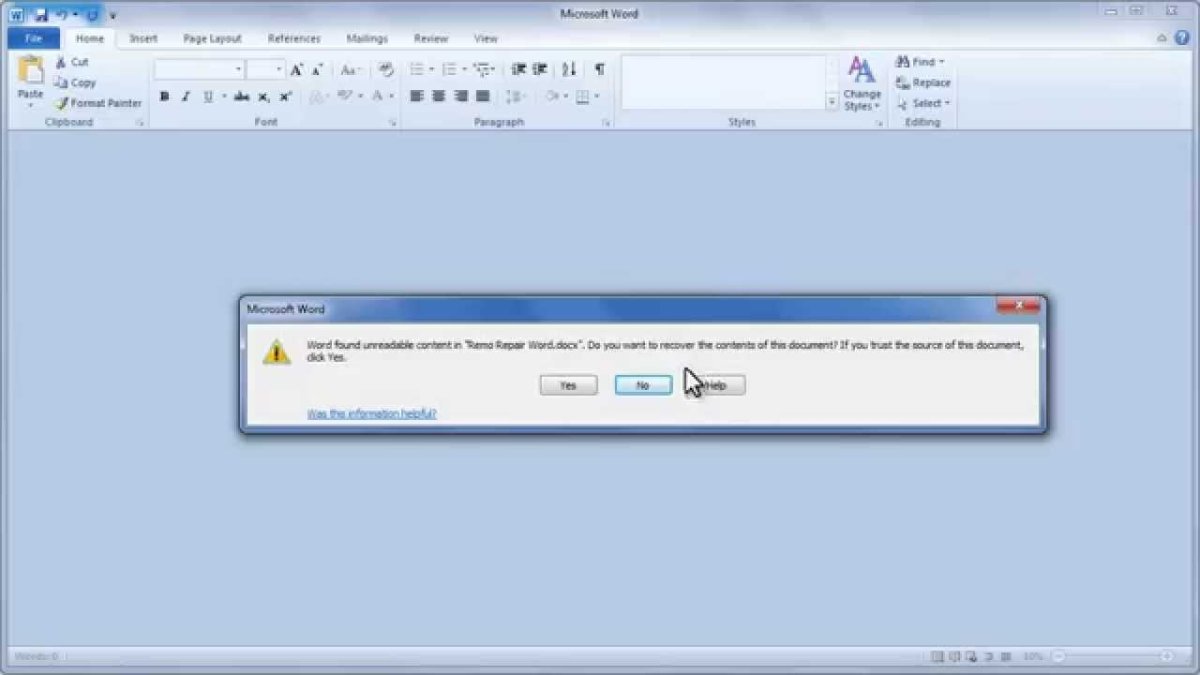
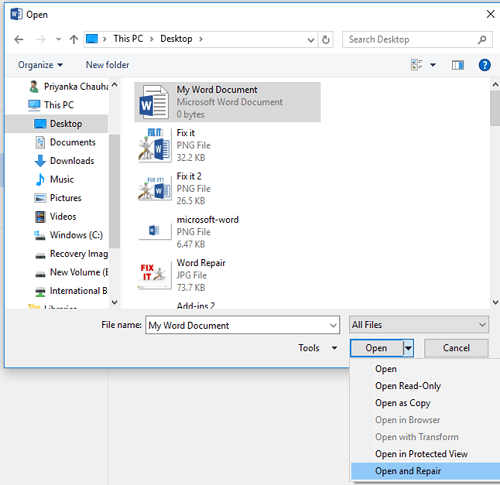
How to Fix a Corrupted Microsoft Word File?
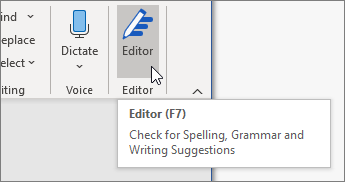
How to Check for Grammar Errors in Microsoft Word?