
How to Access Usb Drive on Windows 10?
Are you having trouble accessing your USB drive on Windows 10? Don’t worry, you’re not alone. Many Windows 10 users have experienced the same issue, and luckily, the process for getting your USB drive to work correctly is not only easy, but it can also be done in a matter of minutes. In this article, we’ll show you the steps you need to take to access your USB drive on Windows 10. Let’s get started!
Connecting a USB drive to Windows 10 is easy and straightforward. Here are the steps to follow:
- Plug the USB drive into an available port on your computer.
- Open the File Explorer. You can open it from the taskbar.
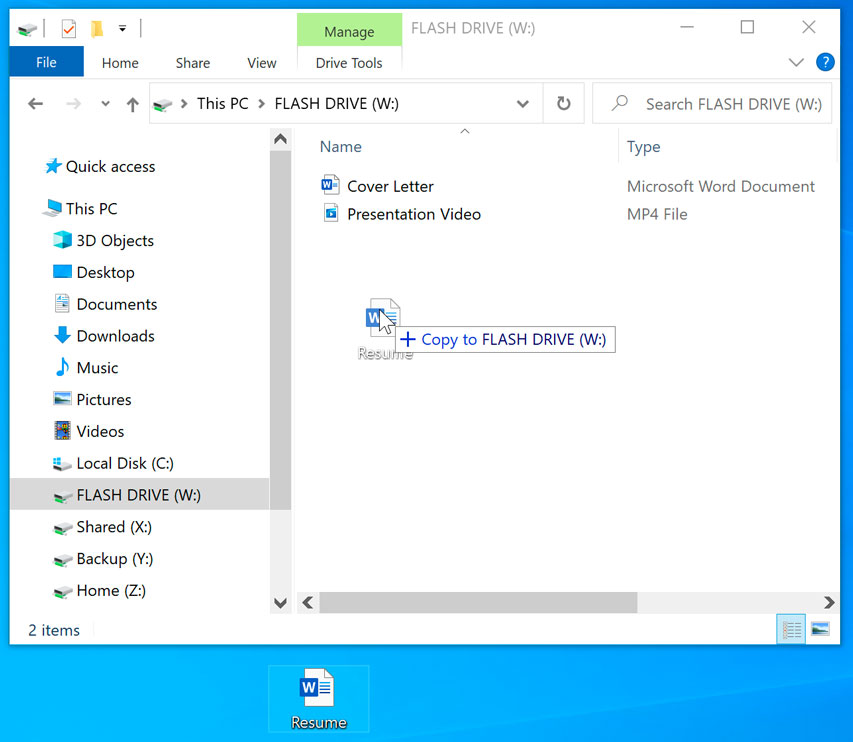
- Select This PC from the left pane.
- The USB drive will be listed on the right side.
- Double-click on the drive to open it and access its contents.
How to Plug in and Access a USB Drive on Windows 10?
The USB drive, or universal serial bus drive, is an incredibly useful tool for transferring and storing data. To access a USB drive in Windows 10, you must first plug it in to your computer, giving it power and allowing it to transfer data. Here is a step-by-step guide to accessing a USB drive in Windows 10.
Step 1: Plug in Your USB Drive
The first step to accessing a USB drive on Windows 10 is to plug it in to the USB port. Depending on the type of USB drive you have, the port you plug it into may be located on the side, front, or back of your computer. Once you have plugged it in, a notification should appear in the bottom-right corner of your screen that says “USB device connected”.
Step 2: Open File Explorer
The next step is to open File Explorer, which is the Windows 10 program used to access files and folders. You can open File Explorer by clicking on the folder icon located on the taskbar at the bottom of your screen. Once the program is open, you should see your USB drive listed in the left-hand column of File Explorer.
Step 3: Access the USB Drive
Once you have located your USB drive in File Explorer, you can access it by double-clicking on the drive’s icon. This will open a new window containing the files and folders stored on the USB drive. From here, you can copy, delete, and move files as needed.
Step 4: Eject the USB Drive
When you have finished accessing and transferring data from your USB drive, it is important to eject it before unplugging it. This will ensure that any changes you have made to the files stored on the USB drive are saved properly. To eject your USB drive, right-click on the drive’s icon in File Explorer and select “Eject”.
Step 5: Unplug the USB Drive
The final step is to safely unplug the USB drive from your computer. To do this, simply grab the USB drive and gently pull it out of the USB port. You should see a notification in the bottom-right corner of your screen that says “USB device disconnected” when the drive has been safely unplugged.
Top 6 Frequently Asked Questions
1. How do I connect a USB drive to Windows 10?
To connect a USB drive to Windows 10, the first step is to plug the USB drive into a USB port. The USB port can either be on the side of the computer, or on the back of the computer. Once the USB drive has been plugged in, Windows 10 will automatically detect it and you will see a notification in the bottom right corner of the screen. If you don’t see a notification, you can also open up File Explorer and the USB drive should appear in the list of drives.
2. How do I open a USB drive on Windows 10?
To open a USB drive on Windows 10, first make sure that it is connected to the computer. If it is, you can open it by double-clicking on the drive in the File Explorer. Alternatively, you can right-click on the drive and select the “Open” option. This will open up a window that displays the files and folders on the USB drive.
3. How can I access a USB drive from the command prompt?
To access a USB drive from the command prompt, first you need to open the command prompt. This can be done by searching for “cmd” in the Windows search box. Once the command prompt is open, you can enter the command “diskpart” and press enter. This will open up the diskpart utility, which can be used to manage the disks on your computer. To access the USB drive, you can enter the command “list disk” and press enter. This will display a list of all the disks connected to the computer, and you can select the USB drive by entering the command “select disk X”, where X is the number associated with the USB drive.
4. How do I format a USB drive on Windows 10?
To format a USB drive on Windows 10, first you need to open the File Explorer. Once the File Explorer is open, you can right-click on the USB drive and select the “Format” option. This will open up a new window where you can select the file system for the drive, as well as other options such as the capacity and the allocation unit size. Once you have made your selections, you can click the “Start” button to begin the formatting process.
5. How do I assign a letter to a USB drive on Windows 10?
To assign a letter to a USB drive on Windows 10, first you need to open the Disk Management window. This can be done by searching for “diskmgmt.msc” in the Windows search box. Once the Disk Management window is open, you can right-click on the USB drive and select the “Change Drive Letter and Paths” option. This will open up a new window where you can select a drive letter for the USB drive. Once you have selected the letter, you can click the “OK” button to save the changes.
6. How do I make a USB drive bootable on Windows 10?
To make a USB drive bootable on Windows 10, first you need to open the File Explorer. Once the File Explorer is open, you can right-click on the USB drive and select the “Create a Bootable USB Drive” option. This will open up a new window where you can select the operating system that you want to install on the USB drive. Once you have selected the operating system, you can click the “Create” button to begin the process. After the process has completed, the USB drive should be bootable.
How To Find/Open And View Files On A USB Flash Drive On Windows 10 PC
Ultimately, accessing your USB drive on Windows 10 is a simple and straightforward process. By following the steps outlined in this guide, you should be able to quickly and easily access your USB drive and get the files you need. With the ability to access USB drives on Windows 10, you can quickly transfer important files and documents between computers, or store important information on your USB drive for safekeeping.
How to Remove Search Marquis From Windows 10?
How to Spoof Ip Address Windows 10?
Related Posts

Small businesses struggle with ERC tax credit submissions

10 Misunderstandings of the Employee Retention Credit

ERC Tax Credit 2023: Is the ERC tax credit still available?
