
How to Lock Images in Powerpoint?
Are you looking to secure your PowerPoint presentation with important images? Have you been searching for a reliable method to lock images in PowerPoint? Well, you’re in luck! In this tutorial, you’ll learn how to easily lock images in PowerPoint to protect your presentation from any unauthorized changes or alterations. We’ll walk you through the simple steps necessary to secure your images and prevent any accidental or intentional modifications. So if you’re ready to learn how to lock images in PowerPoint, read on!
To lock an image in PowerPoint, follow these steps:
- Right-click the image and select “Size and Position”.
- On the “Size and Position” window, check the “Lock aspect ratio” box.
- Click “OK” to apply the changes.
Now, the aspect ratio of the image is locked and it won’t be distorted when you resize it.

Locking Images in PowerPoint: Step by Step Guide
PowerPoint is a powerful presentation program that allows users to create professional looking slides with ease. One of the most useful features of PowerPoint is the ability to lock images so that they cannot be moved, resized, or deleted. This tutorial will show you how to lock images in PowerPoint so that they stay in place.
The first step to locking an image in PowerPoint is to select the image. This can be done by clicking on the image with the mouse or by pressing the “Ctrl” and “A” keys on the keyboard. Once the image is selected, the image will be highlighted with a blue border.
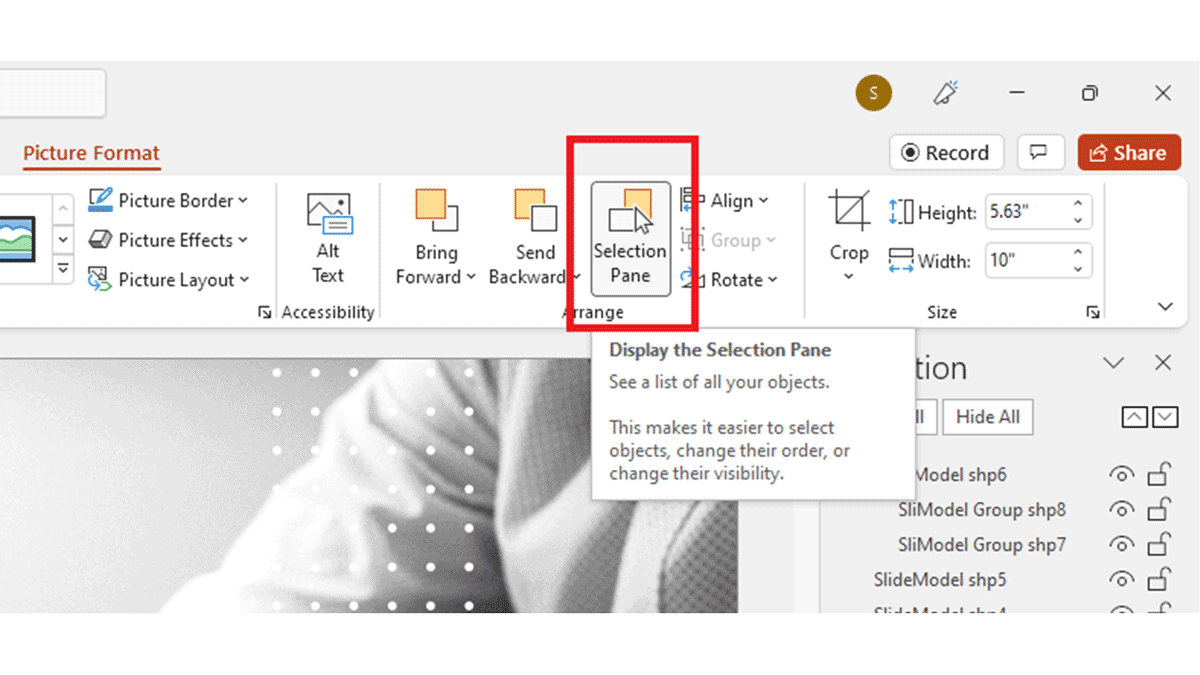
The second step is to open the Format Picture window. This can be done by either clicking on the “Format” tab at the top of the PowerPoint window or by right-clicking on the image and selecting “Format Picture”.
Locking the Image
The next step is to lock the image in place. This can be done by selecting the “Size and Position” tab in the Format Picture window. Under the “Size and Position” tab, there will be a checkbox labeled “Lock” next to the “Size” section. Checking this box will lock the image in place and prevent it from being moved, resized, or deleted.
The last step is to click the “OK” button at the bottom of the Format Picture window to save the changes. The image is now locked in place and will stay in the same position and size until the lock is removed.
Unlocking the Image
If the user needs to make changes to the image, the lock can easily be removed. To do this, the user must open the Format Picture window again and uncheck the “Lock” box. The image can then be moved, resized, or deleted as needed.
Tips and Tricks
When working with images in PowerPoint, it’s important to remember to always lock the images after they have been placed. This will prevent accidental changes or deletions of the images. It is also important to remember to unlock the image before making any changes.
Troubleshooting
If the lock icon is not visible in the Format Picture window, it means that the image is not selected. To select the image, simply click on it with the mouse or press the “Ctrl” and “A” keys on the keyboard. Once the image is selected, the lock icon will become visible and the image can be locked.
Frequently Asked Questions
What is the purpose of Locking Images in Powerpoint?
The purpose of locking images in PowerPoint is to protect the image from being accidentally or intentionally changed or removed. When an image is locked, no one can move, delete, or resize it. This can be especially useful when creating presentations that need to be printed or shared with others. Locking images can also help to maintain consistency throughout the presentation.
How do I Lock Images in Powerpoint?
To lock images in Powerpoint, select the image you want to lock by clicking on it. Then, right-click the image and select “Format Picture” from the menu. Once the Format Picture window appears, select the “Size and Position” tab. At the bottom of the window, you will see a checkbox labeled “Lock aspect ratio.” Check this box to lock the image. You can also check the “Lock” box to lock the image in place.
What Other Options Do I Have When Locking Images in Powerpoint?
In addition to locking the aspect ratio and position of the image, you can also lock the image’s color, transparency, and cropping. To do this, select the image and right-click it. Select “Format Picture” from the menu. Then, select the “Colors and Lines” tab. At the bottom of the window, you will see checkboxes labeled “Lock picture color” and “Lock picture transparency.” Check these boxes to lock the image’s color and transparency. You can also check the “Lock picture cropping” box to lock the image’s cropping.
What Does It Mean to Unlock an Image in Powerpoint?
Unlocking an image in Powerpoint means that the image can be changed or removed. To unlock an image, select it and right-click it. Then, select “Format Picture” from the menu. Uncheck the “Lock aspect ratio”, “Lock picture color”, “Lock picture transparency”, and “Lock picture cropping” checkboxes. Once these boxes are unchecked, the image is unlocked and can be changed or removed.
Can I Lock Multiple Images at Once in Powerpoint?
Yes, you can lock multiple images at once in Powerpoint. To do this, select the images you want to lock by holding down the “Ctrl” key and clicking on each image. Then, right-click one of the selected images and select “Format Picture” from the menu. In the Format Picture window, check the “Lock aspect ratio”, “Lock picture color”, “Lock picture transparency”, and “Lock picture cropping” checkboxes. Once these boxes are checked, all selected images will be locked.
Can I Lock an Entire Slide in Powerpoint?
Yes, you can lock an entire slide in Powerpoint. To do this, first select the slide by clicking on the slide number in the left-hand panel. Then, right-click the slide and select “Format Slide” from the menu. In the Format Slide window, check the “Lock objects” checkbox. Once this box is checked, all objects on the slide will be locked.
How to LOCK ELEMENTS in PowerPoint So They Can’t Be Moved
In conclusion, locking images in PowerPoint is an effective way to protect the images and other elements of your presentation. It takes just a few simple steps to lock an image, and you can easily unlock them when needed. With this simple technique, you can keep your presentation secure and ensure that no unauthorized changes are made. So, what are you waiting for? Get to locking your images in PowerPoint today!
How to Update Discord Windows 10?
How to Backup a Folder in Windows 10?
Related Posts

Small businesses struggle with ERC tax credit submissions

10 Misunderstandings of the Employee Retention Credit

ERC Tax Credit 2023: Is the ERC tax credit still available?
