
How to Create a Flowchart in Powerpoint?
Are you trying to create a visually appealing flowchart in Microsoft Powerpoint? Flowcharts are a great way to organize information in a logical and easy-to-understand manner, and Powerpoint is the perfect platform to create them. In this article, we’ll discuss the basics of creating a flowchart in Powerpoint and provide you with a step-by-step guide to help you get started. So if you’re looking for an easy and efficient way to create a flowchart, read on and let’s get started!
Creating a flowchart in PowerPoint is a quick and simple process. To get started, open a blank presentation in PowerPoint. Then, select the Insert tab followed by the Shapes button. Choose the shape you would like to use for your flowchart and draw it onto the canvas. After drawing the shape, right-click on the shape and select Edit Text. Type in the text you would like to appear in the shape and format it as desired. To create arrows in your flowchart, select the Connector button found in the Insert tab. Click and drag the connector to draw an arrow between the two shapes. Finally, click the Save button to keep your changes.

How to Create a Flowchart in Microsoft PowerPoint
Creating a flowchart in Microsoft PowerPoint is a great way to visually represent a process or sequence of events. Flowcharts are used by business professionals and students alike to help visually explain complex processes. The following steps outline the process to create a simple flowchart in PowerPoint.
Step 1: Open a New Slide
The first step in creating a flowchart in PowerPoint is to open a new slide. You can do this by clicking the “New Slide” button in the Home tab. This will open a new slide with a placeholder that can be used to create the flowchart.
Step 2: Insert Shapes
The next step is to insert the shapes that will make up the flowchart. To do this, click on the “Insert” tab and then select “Shapes”. This will open a menu of different shapes that can be used to create the flowchart. Select the shapes that you want to use and then drag them onto the placeholder.
Step 3: Arrange the Shapes
The next step is to arrange the shapes. This can be done by clicking and dragging the shapes to the desired location. You can also use the alignment tools to align the shapes to one another.
Step 4: Connect the Shapes
Once the shapes are in the desired locations, the next step is to connect them. To do this, click on the “Shapes” tab and then select the “Connectors” option. This will open a menu of different connector styles that can be used to connect the shapes. Select the style that you want to use and then click and drag to connect the shapes.
Step 5: Add Labels and Text
The last step is to add labels and text to the shapes. To do this, click on the shape that you want to add the label or text to and then click on the “Text” box in the Home tab. This will open a text box that can be used to add labels and text to the shape.
Step 6: Save and Share
The final step is to save and share the flowchart. To do this, click on the “Save” button in the Home tab. This will save the flowchart as either a PowerPoint or PDF file. You can then share the file with others or embed it into a website or blog.
Frequently Asked Questions
Q1. What is a Flowchart?
A Flowchart is a diagram that represents a process or workflow. It can be used to show a series of steps in a process, the decision points in a process, and where data or information needs to be input or output. Flowcharts can be used to track the progress of a project, to help identify potential problems, and to communicate processes to other stakeholders.
Q2. What is Powerpoint?
Powerpoint is a presentation software created by Microsoft. It is used to create professional-looking presentations and is used in a variety of settings, from business meetings to school classrooms. Powerpoint allows users to create slideshows with text, images, audio, and video.
Q3. How do I Create a Flowchart in Powerpoint?
Creating a Flowchart in Powerpoint is relatively easy and straightforward. Begin by opening a blank presentation in Powerpoint, and then click the Insert tab. From here, select the SmartArt option and select the Flowchart option from the list of options. This will open a new window with a number of flowchart templates. Select the one that best suits your needs, and then click OK. Now, you can begin adding shapes and text to your Flowchart.
Q4. What are the Different Types of Shapes Used in a Flowchart?
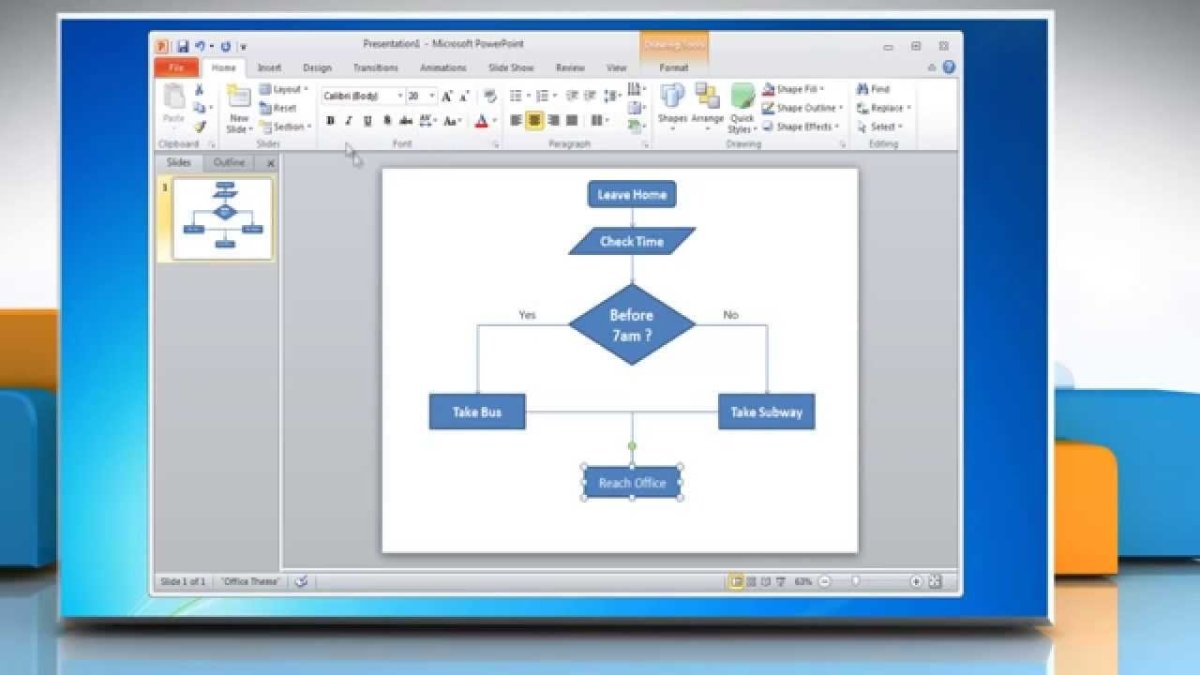
Flowcharts typically use several different types of shapes to represent different parts of the process. The most common shapes used in a Flowchart are: Rectangles, which are used to represent an action or step; Diamonds, which are used to represent a decision; and Arrows, which are used to connect the different shapes.
Q5. How can I Add Text to my Flowchart?
Adding text to your Flowchart is easy. Simply click on the shape in your Flowchart that you want to add text to, and then click the Text option in the menu bar. You can then type in the text that you want to appear in the shape. You can also format the text to make it stand out, such as changing the font size, style, or color.
Q6. How do I Connect Shapes in my Flowchart?
To connect shapes in your Flowchart, select the shape that you want to connect, and then click on the Connector option in the menu bar. This will open a new window with a variety of connector lines. Select the one that best suits your needs and then click OK. Now, click on the shape that you want to connect to, and the line will be drawn between the two shapes.
How to Create Flowchart in Powerpoint | Step-by-Step Tutorial
Creating a flowchart in PowerPoint is a great way to visually convey information in a way that is easy to understand. With a few simple steps, and the right tools, you can quickly create a professional-looking flowchart that is sure to impress. By following the tips in this article, you can confidently create a flowchart in PowerPoint and ensure your audience understands the information you are presenting.
How to Change Primary Hard Drive Windows 10?
How to Change Outlook Data File Location in Windows 10?
Related Posts

Small businesses struggle with ERC tax credit submissions

10 Misunderstandings of the Employee Retention Credit

ERC Tax Credit 2023: Is the ERC tax credit still available?
