Where Are Snipping Tool Files Saved Windows 10?
If you've ever tried to take a screenshot on Windows 10, you know that the Snipping Tool is the go-to program for getting the job done. But, ever wonder where the snipping tool files are saved?
To help make sure you can find them, this guide will teach you where to look for your snipping tool files in Windows 10. So if you're ready to discover where your snipping tool files are stored, let's get started!
The Snipping Tool in Windows 10 saves files in the PNG file format by default. To save your snips with a different file name, format, or in a different location, click the arrow next to the Save Snip button and select from the available options.
How to Find Windows 10's Snipping Tool Saved Images?
Snipping Tool is a screen capture utility available in Windows 10. It gives you the ability to capture a selection of your screen and save it as an image file. But, where does Windows 10 save the files you capture with the Snipping Tool? In this article, we will explain where you can find the files you've snipped in Windows 10.

The snips you take with the Snipping Tool are saved as PNG files. By default, they are saved in the Pictures folder, in a subfolder called “Screenshots”. To get to the Pictures folder, open File Explorer and select “Pictures” from the left sidebar. Then, double-click on the “Screenshots” folder. You should find all the snips you’ve taken with the Snipping Tool in this folder.
Changing the Snip Save Location
By default, the Snipping Tool saves snips to the Pictures folder. If you want to change this, you can do so by opening the Snipping Tool and clicking on “Options”. In the window that opens, select “Change Default Save Location”. Here you can choose the folder where you want to save your snips.
Finding the Snipping Tool
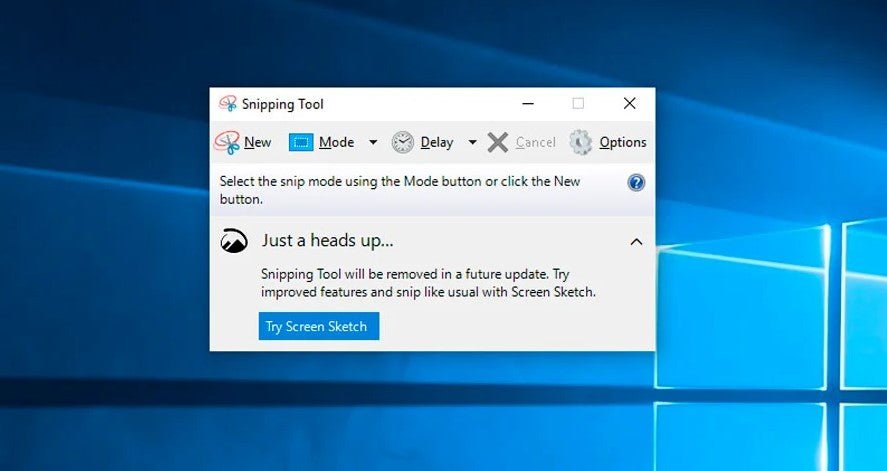
If you’re having trouble finding the Snipping Tool, you can search for it in the Start menu. Just press the Windows key and type “snipping”. This should bring up the Snipping Tool in the search results. You can also open it from the Windows Accessories folder.
To do this, open the Start menu and go to “Windows Accessories”. There, you should find the Snipping Tool.
Using the Snipping Tool
The Snipping Tool is a simple to use app. To capture a snip, open the Snipping Tool and select the type of snip you want to take. You can choose between a free-form snip, a rectangular snip, a window snip, and a full-screen snip.
Select the type of snip you want and drag the cursor to capture the snip. Once you’ve captured the snip, you can save it as an image file.
Editing Snips
Once you’ve captured a snip, you can also edit it. To do this, open the Snipping Tool and click on “Edit”. This will open the snip in the Snipping Tool’s editor. Here, you can use a variety of tools to annotate and edit your snip.
You can add text, arrows, shapes, and more. When you’re done, click on “Save” to save your changes.
Sharing Snips
The Snipping Tool also makes it easy to share snips with others. To do this, open the Snipping Tool and click on “Share”. This will open a window where you can select how you want to share the snip. You can share it via email, save it as a file, or upload it to a cloud service.
Few Frequently Asked Questions
Q1: What is the Snipping Tool?
A1: The Snipping Tool is a Windows 10 utility that allows you to capture screenshots of your desktop or any area of the screen. It can be used to capture a specific area of the screen, or the entire desktop, and then save the captured image in the form of a file.
Q2: How Do I Access the Snipping Tool?
A2: To access the Snipping Tool in Windows 10, open the Start menu and type “Snipping Tool” into the search box. The Snipping Tool icon should appear in the search results. You can also access the Snipping Tool from the Accessories folder in the Start menu.
Q3: What Types of Screenshots Can I Capture?
A3: The Snipping Tool allows you to capture four different types of screenshots: Free-form, Rectangular, Window, and Full-screen. Free-form allows you to draw a shape around the area of the screen that you want to capture, while Rectangular allows you to capture a rectangular area. Window captures the active window on your screen, while Full-screen captures the entire desktop.
Q4: How Do I Save a Screenshot?
A4: To save a screenshot, click the “Save Snip” button in the Snipping Tool window. This will bring up the “Save As” dialog box, which allows you to choose the location and file type for the screenshot. By default, screenshots are saved as PNG files, but you can also save them as GIF, JPEG, or HTML files.
Q5: Where Are Snipping Tool Files Saved Windows 10?
A5: By default, Snipping Tool files are saved to the “Pictures” folder in the user’s profile directory. For example, if your username is “John”, the screenshots will be saved to the “C:\Users\John\Pictures” folder. However, you can change the save location by selecting “Options” from the Snipping Tool window and then selecting a different folder.
Q6: Can I Change the File Type of Snipping Tool Files?
A6: Yes, you can change the file type of Snipping Tool files. When you click the “Save Snip” button in the Snipping Tool window, you can select a different file type from the “Save As” dialog box. The available file types are PNG, GIF, JPEG, and HTML. In conclusion, the Snipping Tool in Windows 10 is an easy-to-use and powerful tool for taking screenshots.
It allows you to capture an image or part of the screen quickly and conveniently, making it an invaluable tool for any user. It also saves the snips to the default folder, allowing you to easily access your snips whenever you need them. With this tool, you can easily capture, store, and retrieve important screenshots with ease.
Related Posts
How to Change Screen Timeout Windows 10?
How To Use Snipping Tool In Windows 10?
How To Unlock Windows 10 Without Password?
How To Turn On Wifi Windows 10?
How to Turn Off Firewall on Windows 10?
How To Turn Off Cortana In Windows 10?
How To Turn Off Bitlocker Windows 10?